

Line Drawing Of Holly Leaves
*This post may contain affiliate links. We will earn a commission at no extra cost to you if you use any of our links. Please read our disclosure for more details.
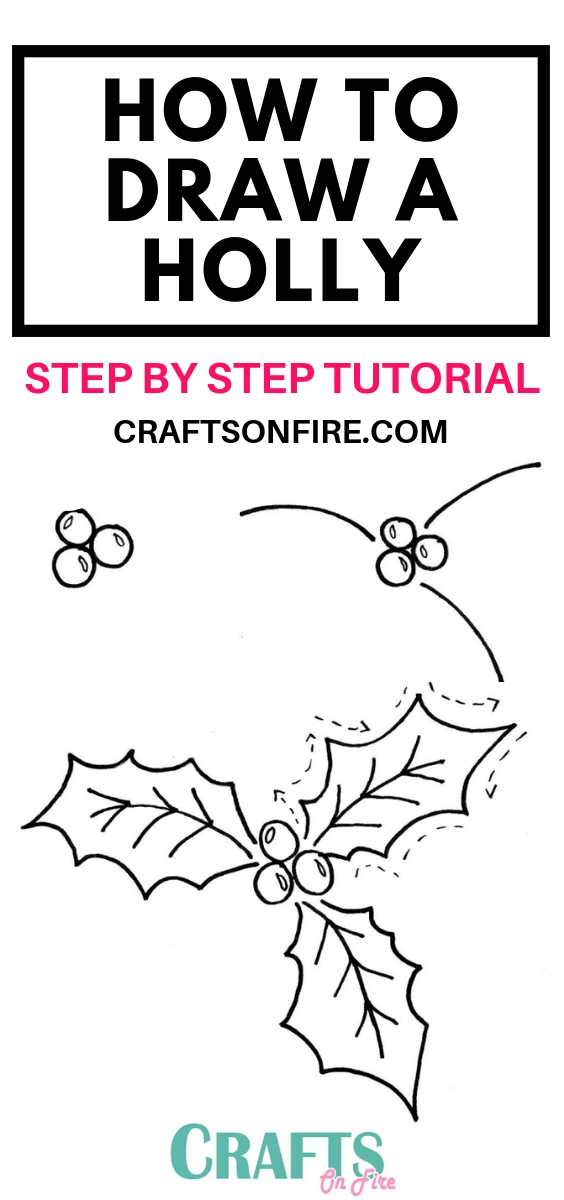
It's that time for Christmas and what other better way to celebrate than drawing fun Christmas decorations? Learn how to draw a holly in just a few easy steps. We'll take you through each and every way for drawing a holly with its leaves and berries, you'll be really happy you decided to try this drawing tutorial.
Before we begin, if you're a huge lover of Harry Potter, this fact might blow you away. Did you know that the wood of the Holly is actually used as the wood for Harry's 11″ wand?
Also, another great fact worth knowing is that Holly bushes are known to grow more than 6 feet tall and some that can grow to 50 feet tall. How awesome is that!
There are many uses to Holly but most are best known for Christmas decorations. Some use holly leaves as decorations for a centerpiece, mantel, ornaments or as a beautiful wreath for the front door.
Then there are also fun crafts you can try to make using Holly's like these projects.
Okay, I'm guessing you've had enough facts for the day, now let's get on with this quick and easy drawing tutorial of a Holly.
Supplies You'll Need:
- Pencil
- Paper
- Micron Pen
- Brush Pens / Markers
Drawing Instructions
Step 1
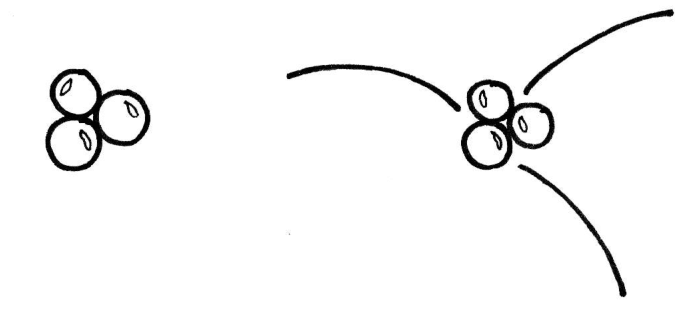
Begin by drawing three small round circles for the berries. You can draw and add as many berries as you'd like but we stuck with three small berries for this tutorial.
Next, you'll need to add some details to the berries. You can do this by drawing a small oval shape on top of each berry.
Once you've drawn your berries together, on each side draw a line in an angle. This will be the stems of the leaves.
Step 2
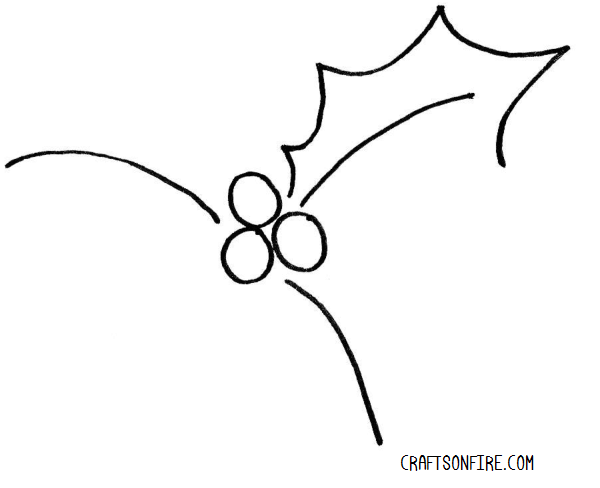
Once you have drawn the stems, it's now time to draw the holly leaves. You can start at the top of at the bottom of the berries, totally up to you! All you have to do is draw inward curves ensuring that the tip of each leaf is pointed.
Step 3
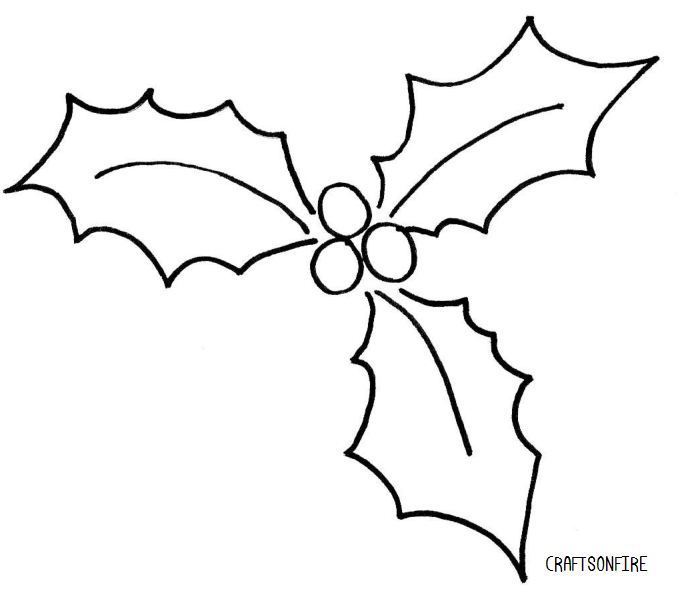
Once you have completed drawing all the holly leaves, your drawing will now look something like this. It's pretty easy, right?
Step 4

I've drawn a few extra steps (the broken lines) that will show you the shape of how the leaves are supposed to be. I'm sure this will make it a little clearer on what to do.
The final step is to draw the lines on the leaves. Follow the shape and direction of the stem and draw three V shapes on each leaf.
Step 5
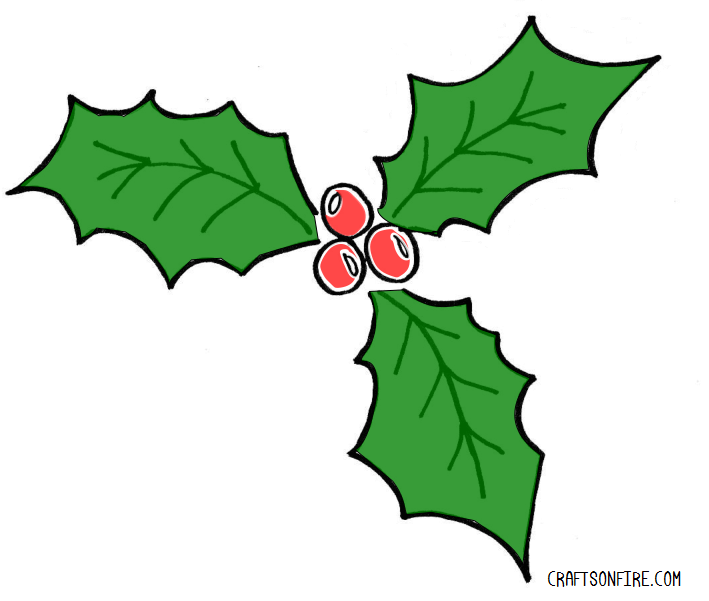
This last step is optional but if you want to make your drawing stand out, color it in with shades of green for the leaves and red for the berries.
That's it! You've now drawn your first Holly. Did you enjoy this simple drawing tutorial?
If you're in the mood for more Christmas drawing tutorials, see this amazing way on how to draw Christmas lights?
You can use these drawings in a journal or maybe customize your Christmas or holiday greeting cards with these pretty and simple decorations.
SEE ALSO: How To Draw A Christmas Wreath (Quick & Easy Tutorial)
They're so easy to draw that you can literally do it in minutes!
Let us know your thoughts in the comments below of what you thought of this how to draw a holly tutorial and if you'd like to see more of these kinds of drawing tutorials.
Line Drawing Of Holly Leaves
Source: https://craftsonfire.com/2019/06/how-to-draw-a-holly.html
Posted by: josephouldives.blogspot.com
0 Response to "Line Drawing Of Holly Leaves"
Post a Comment