Solidworks Hole Wizard Drawing Dimension
Have you ever had a newly created drawing that you'd like to dimension by importing from your sketches, features, and 3D model, but don't want to manually add each dimension one at a time? Well then SOLIDWORKS has just the right tool for you! It's the SOLIDWORKS Model Items tool, and it'll speed up dimensioning time in your drawings and make annotations a breeze.
Model Items can be used for inserting items into an assembly component, an assembly feature, a drawing view/views, and a selected feature. However, in this post, we'll be working specifically with just a 3D solid model, and import its dimensions and annotations into a drawing.
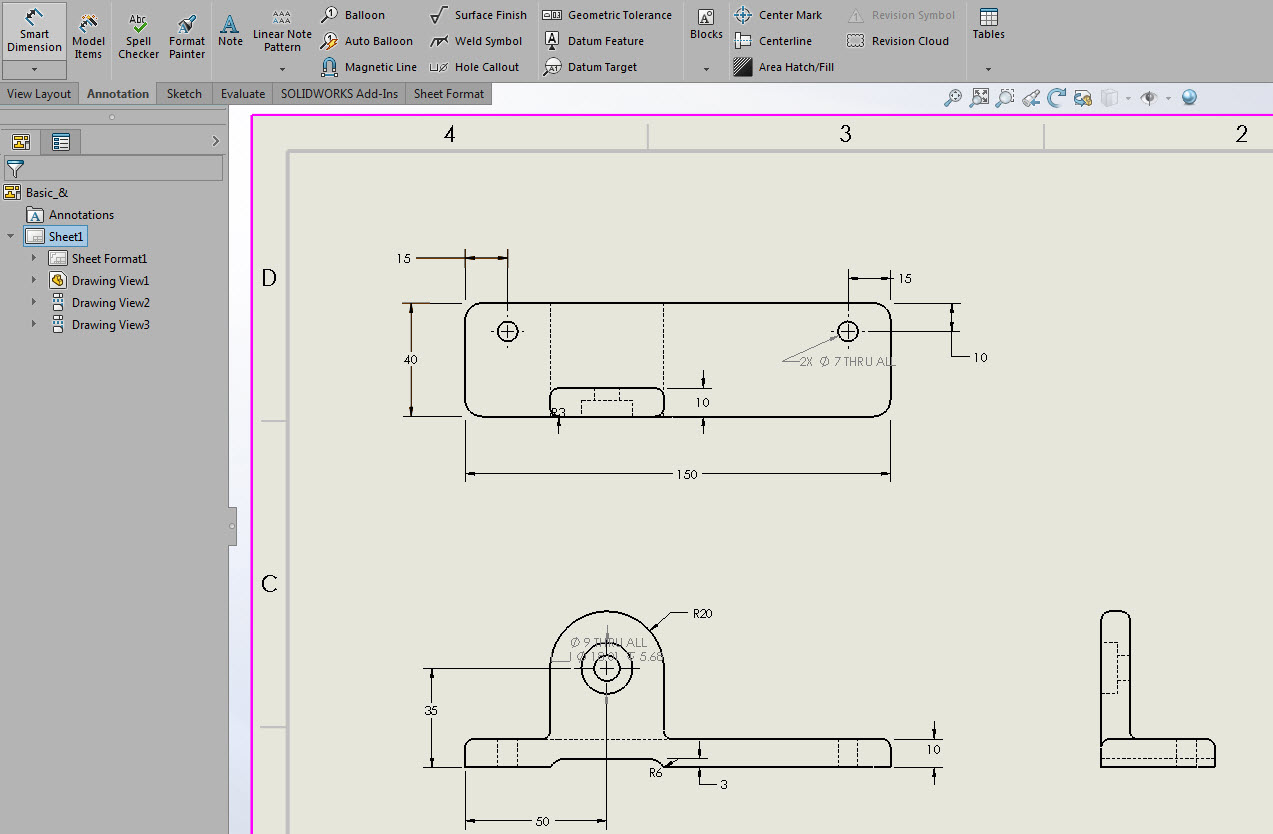
Below you'll see a drawing with the three standard orthographic drawing views. This includes the front, top, and right profile views of the model. The Model Items tool can be found within the Annotations tab in the CommandManager.
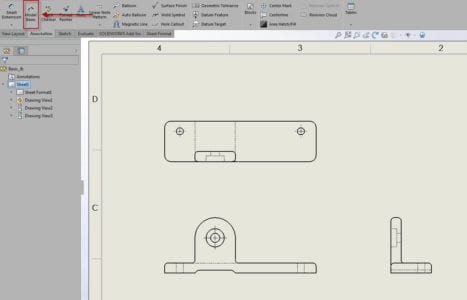
With the Model Items tool selected, the PropertyManager will appear with several different options that we will run through, to bring in the driving dimensions, annotations, and reference geometry the way that we'd like.

First, we'll need to select the Source/Destination of our model items. We're going to choose the entire model as the source, so that all of the dimensions and annotations from the model will be imported, rather than just dimensions and annotations from a single feature.
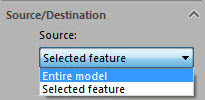
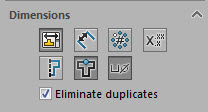
Next up in the PropertyManager is the selection of the dimensions. In this section, we'll have the ability to choose the types of dimensions that will be imported from our model. There are seven different dimension options to choose from, which are as listed:
- Dimensions that are marked for drawing
- Dimensions that are not marked for drawing
- Instance/revolution counts
- Toleranced dimensions
- Hole wizard profiles
- Hole wizard location
- Hole callout information
For our example, we'll choose to import dimensions that are marked for drawing, hole wizard locations, and hole callout information. We'll also check the box to eliminate duplicate dimensions from being imported.
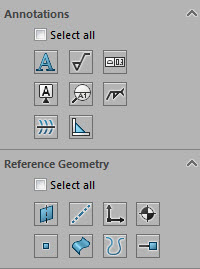
The current model we are working with, doesn't have any annotations or reference geometry that will need to be imported into our drawing, so we'll leave those sections of the PropertyManager untouched.
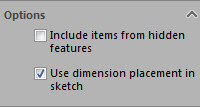
Last but not least, we have the Options section. This section is just as important as the other sections above it. Here we have the option to Include items from hidden features, which we will refrain from using. However, we will check the box to Use dimension placement in our sketches.
Now that all of our options and dimension types that we'd like have been selected, let's accept our Model Items tool by hitting the green check mark. As you'll see, the dimensions, hole wizard location, and hole callout information is now on our drawing, albeit not very organized.
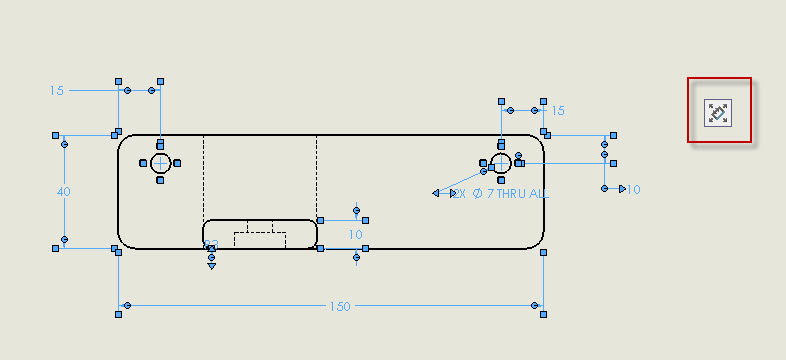
Let's do some clean-up by using the built-in Auto Arrange Dimensions tool. To use this function, select all of the dimensions in a view and hover over the icon that appears when doing so.
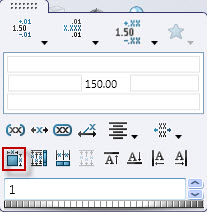
This will automatically bring up the Dimension Palette, where we can select the Auto Arrange Dimensions function in the lower left corner of the window. This tool will arrange our dimensions automatically to provide better spacing and alignment.
We can do the same for the front view, and voila, our dimensions, hole wizard locations, and hole callout information is rearranged and our drawing is looking top notch!

Tags: Annotations tab, Command Manager, CommandManager, Dimensioning, Drawings, Feature, Model Items, Solidworks, Tool
Solidworks Hole Wizard Drawing Dimension
Source: https://www.cadimensions.com/blog/solidworks-model-items-tool/
Posted by: josephouldives.blogspot.com

0 Response to "Solidworks Hole Wizard Drawing Dimension"
Post a Comment