

How To Create A Digital Planner With Hyperlinks
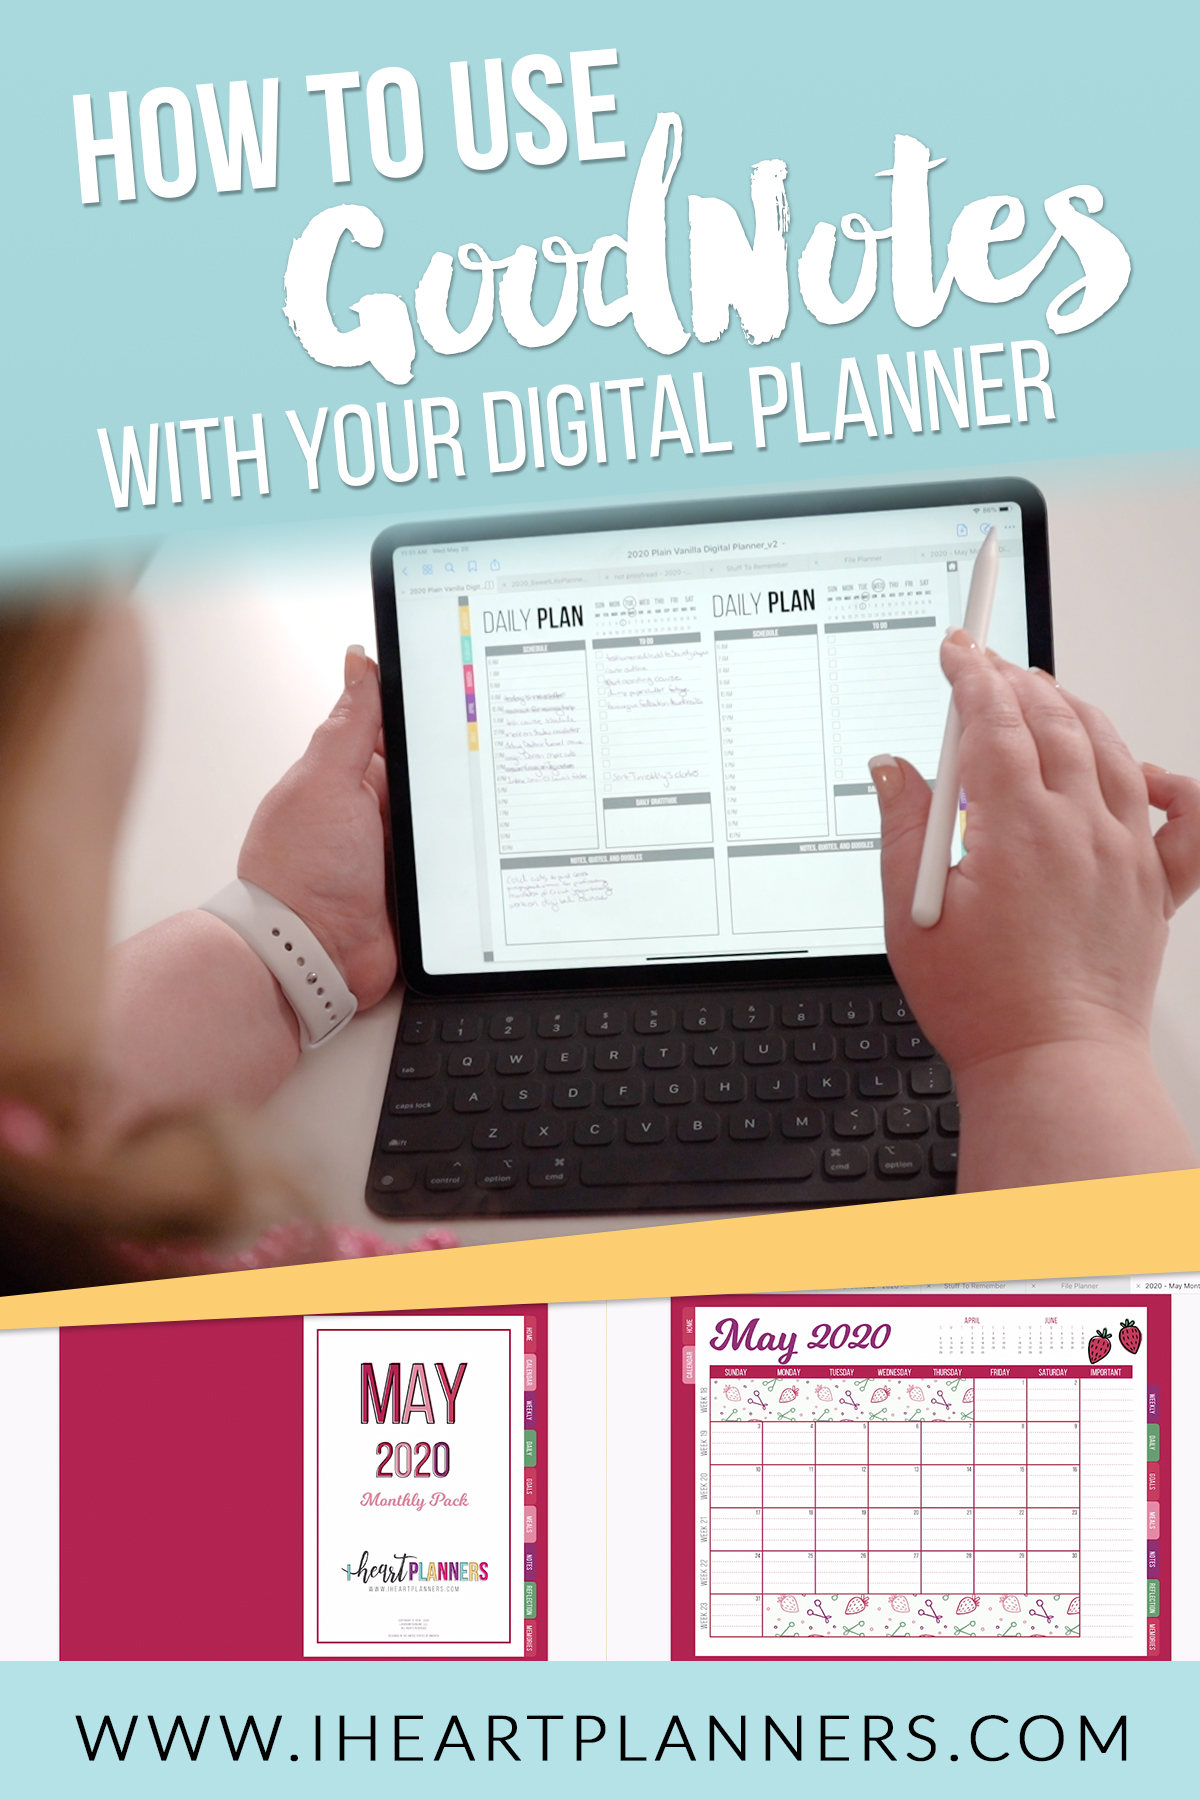
My digital planner on my GoodNotes app has become a tool that I rely on to plan even my most hectic days. Ever had those days where you feel like you'd lose your head if it wasn't attached? I know I have! Sometimes I think that I can't keep track of one more thing – and that's why my digital planner has become a game changer! I've even given up my highly beloved paper planner in favor of the digital planner on my iPad!! ?
Whatever I have to face in a day, I know that I have a planner that is easily accessible, lightweight, and user friendly. But I know my digital planner wouldn't be half as powerful without the best app.
One thing is clear: if you're frustrated with your digital planner, it may be because you're using your tablet's native software or PDF reader. But if you want to use your digital planner to its fullest potential (aka: get your digital planner working FOR you) then I'd suggest downloading Goodnotes so the digital planner can really start doing the heavy lifting! Watching (or reading) my tutorial for beginners on how to use GoodNotes with your digital planner will give you a huge head start.
Ready to give it a shot? I don't blame you! That's why this blog post is all about how I use my digital planner with the GoodNotes app. Right now, the GoodNotes app is available on the app store for $8. Honestly, it's the best $8 I've spent on an app in my life and totally worth the investment. My favorite thing about GoodNotes is that it can be opened across your devices. That means that, even though I can't edit my planner the same way on my computer or phone, I can still reference it and take my digital planner with me anywhere! Convenience is definitely high up on my priority list, and GoodNotes gets some big points in this area.
If you'd prefer to watch me plan with GoodNotes, click here to go straight to my GoodNotes tutorial.
One more thing before we jump into all the GoodNotes fun, I wanted to note that I use an iPad Pro and Apple Pro Pencil with my digital planner. There are many different options, and if you want to dive into a couple options that may be good for you, check out my previous blog post all about the best tablet and pencil to fit your needs and budget.
How to Open a Digital Planner in GoodNotes
Since this post's focus is how to use a digital planner with GoodNotes, I'm going to assume you already have a digital planner. If not, don't panic! There are plenty of digital planners to choose from, including the Sweet Life digital planner. Regardless of where you get your digital planner, a good thing to keep in mind when shopping is the planner's hyperlinks. If you don't know what that is, that's perfectly fine! Just keep reading!
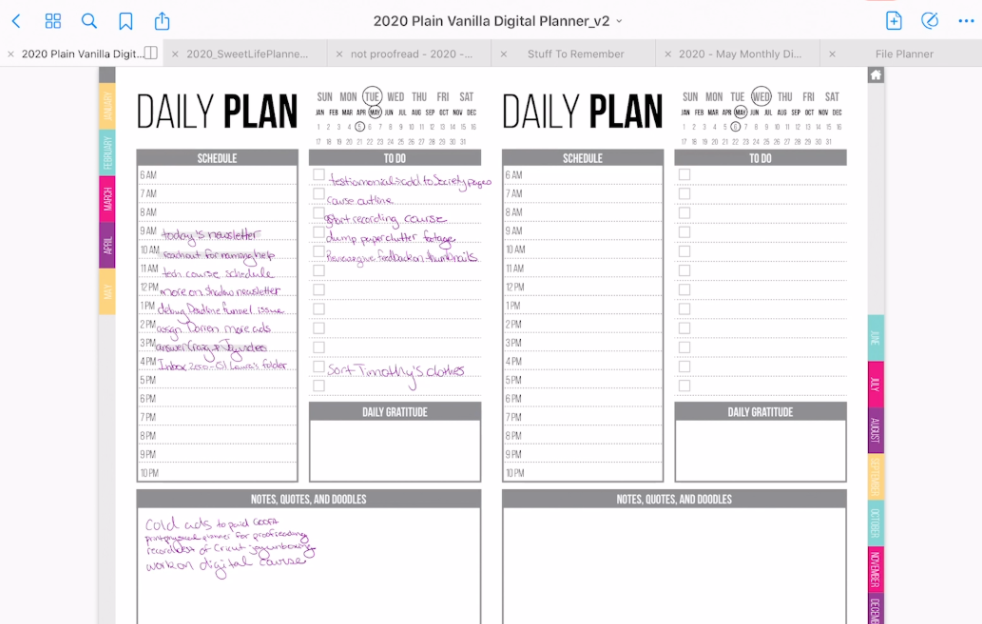
The first step with getting started with GoodNotes is to open up your digital planner in the app. As soon as GoodNotes is launched, you'll see the screen that holds all your different notes listed out. As you can see in the picture below, I already have some different types of planners loaded into my GoodNotes app. Click on or add your digital planner to get started. If you've purchased a Sweet Life planner, check your email for a short video on exactly how to open your planner in GoodNotes. 
As you can see, when I opened my digital planner, GoodNotes remembered where I had been working. I was smack dab in the middle of a planning session, so you can see GoodNotes put me right back in the action as soon as I opened it.
In order to get back to my main planner view, I can tap the home button, which is in the upper right corner as highlighted in the photo below.
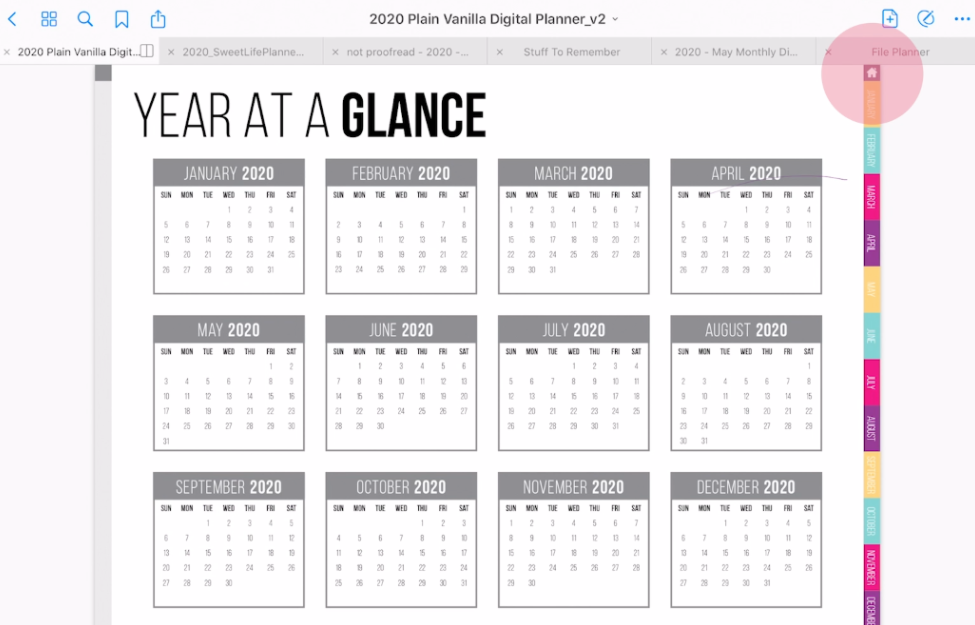
This is a great example of hyperlinks. Hyperlinks are really the thing that give a digital planner an edge over a paper one. A hyperlink means that when you click on the tab labeled "August", your planner will automatically jump to the month of August instantly. These hyperlinks are built in by the developer of the planner, so not every digital planner will have the same hyperlinks. A good digital planner will have a lot of hyperlinks since that eliminates the need to scroll and scroll and scroll to find the page you need. You want your digital planner to do all the hard work for you, so when you're shopping around for a planner, keep those hyperlinks in the forefront of your mind.
How to Use your Digital Planner in "Read" and "Write" Modes in GoodNotes
GoodNotes has two main modes to operate in: read and write modes. Read mode means that when you touch your pencil to the tablet, it will not write. Instead, you'll use your pencil to tap, click, and scroll through the digital planner. Write mode is where you want to be in order to actually start writing in the planner.
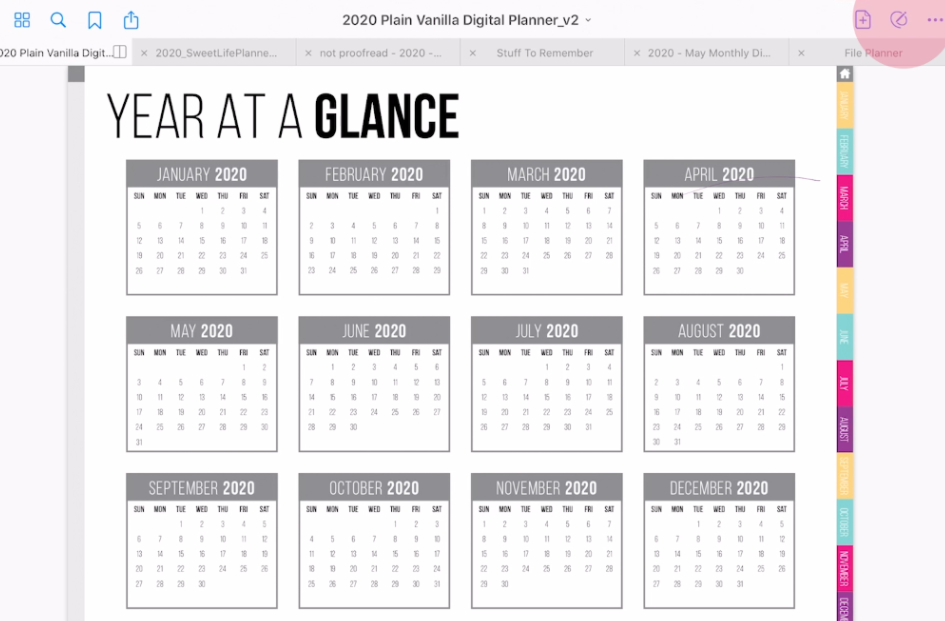
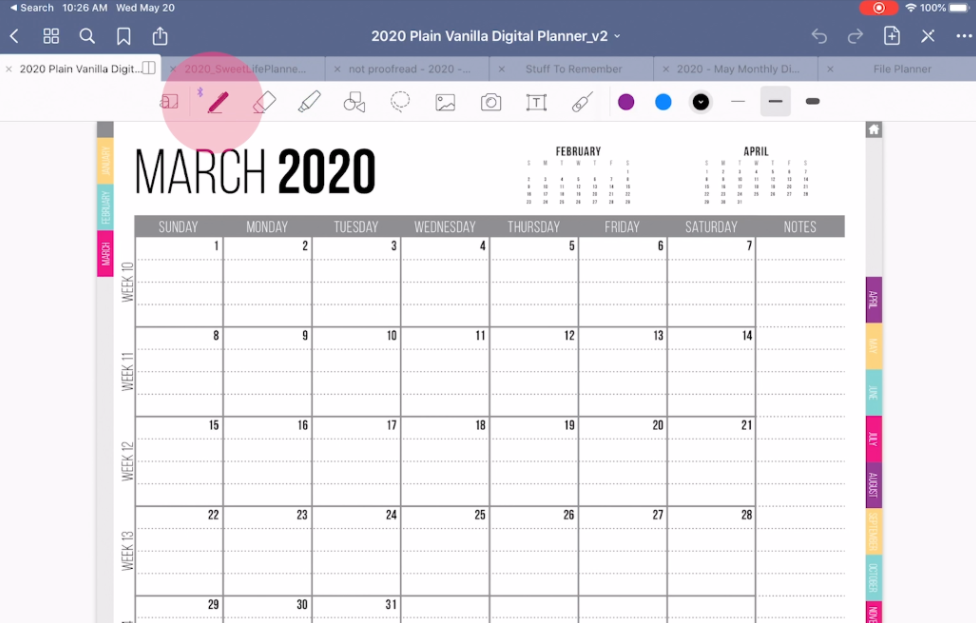
When GoodNotes first launches, it'll start in "read" mode. To switch from read mode to write mode, click on the drawing tool located in the top right corner of the toolbar, as highlighted in the photo below. This will make a blue toolbar pop up right above the original toolbar. This new toolbar is called the "nav bar" and when it's up, your pen is ready to write. To switch back to "read" mode, you'll click on the logo in the nav bar that is a pen with a little line through it on the far right side.
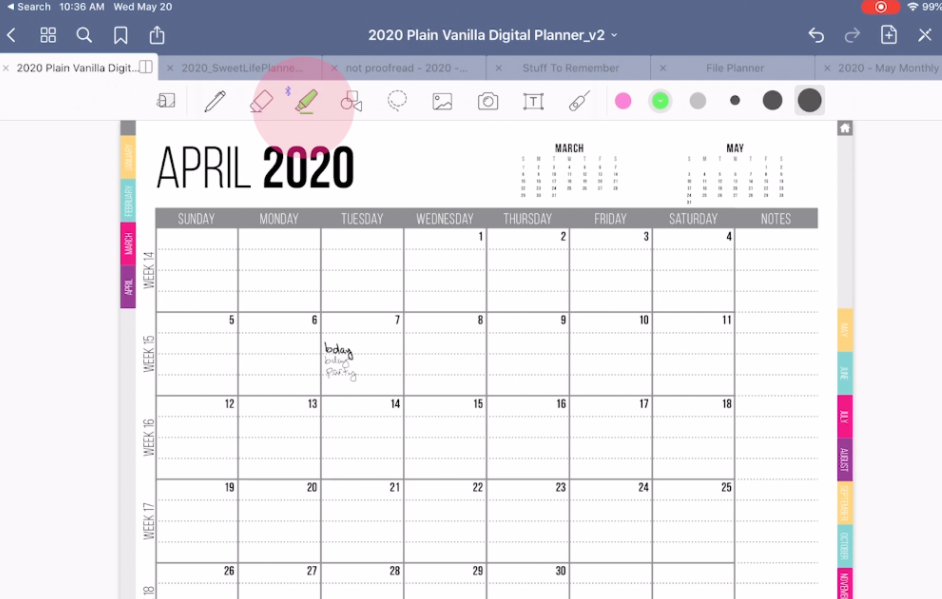
Once you're in write mode and ready to start writing, tap the pen tool on the toolbar beneath the nav bar, like in the photo below. Now you're ready to start planning!
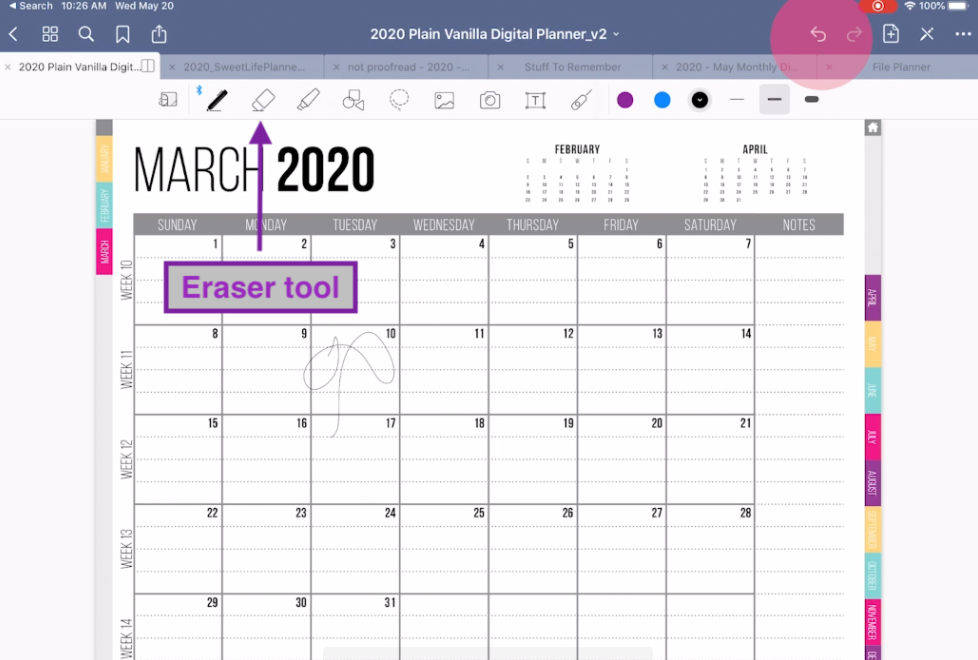
If you ever make a mistake, you can always hit the "undo" button, highlighted in the photo below. If you make a scribble and need to take it back, this one's a life saver! The thing to note with the undo button is that it will undo one stroke (that means a mark made without lifting your pencil). While great for accidental marks or for deleting a whole word if you're writing in cursive, it's not a practical way to erase – leave that to the erase tool, located to the right of the pen tool.
Now that you can use your hyperlinks and write on your planner, it's all about making sure you're in the right mode to use your tools. This is maybe one of the biggest places people get confused when switching to a digital planner.
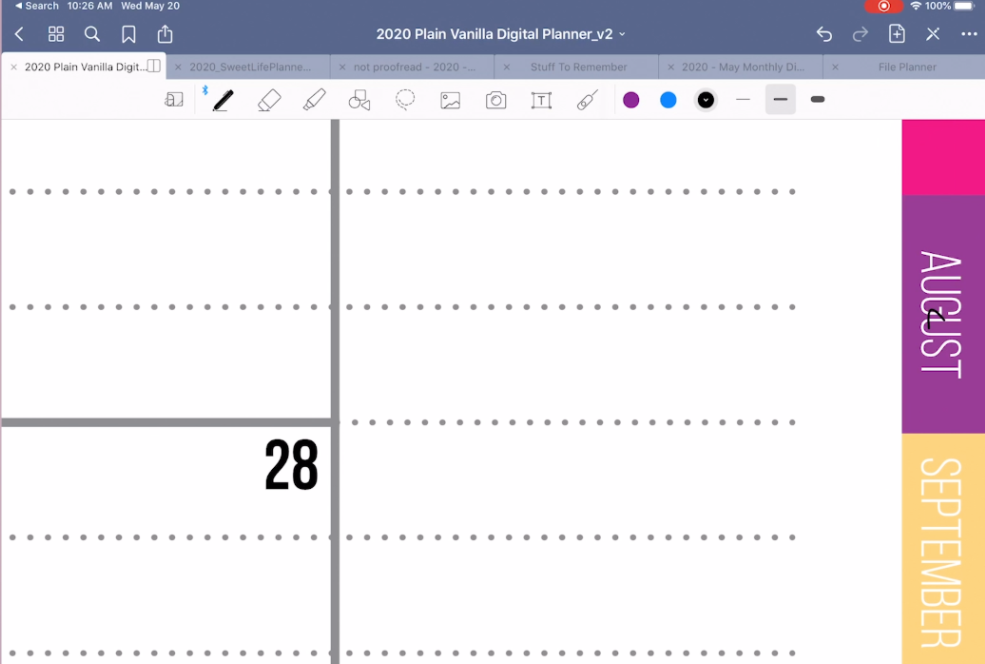
Say you're planning your month, you're done writing everything down, and you're ready to move on to the next month. If you tap on the next month tab, but you're still in write mode, the hyperlinks aren't going to work. Instead, you'll actually make a little mark on the tab, because you've told your planner that you're writing, not that you want to click on anything. You can see in the photo below where I tapped on "August" while still in "write" mode.
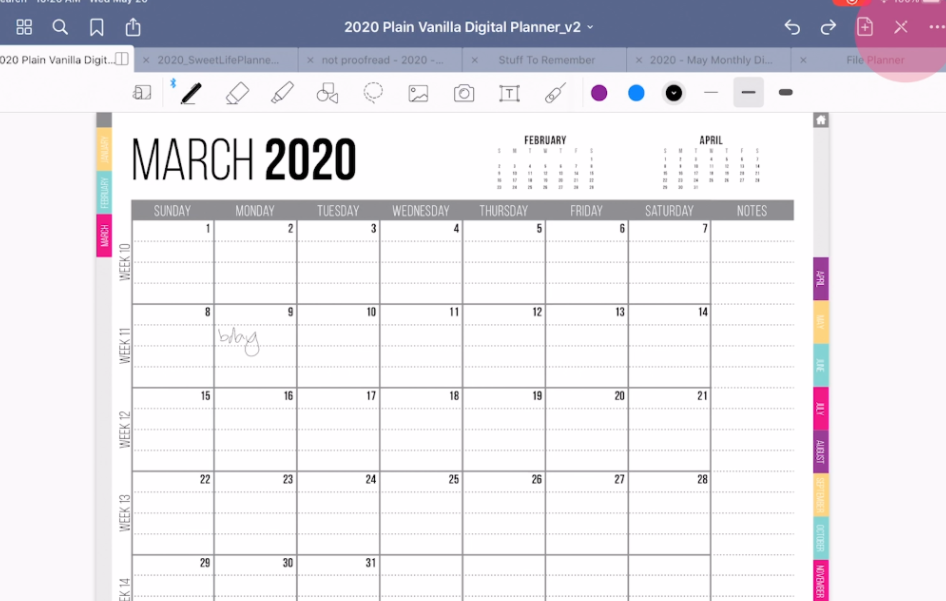
If you want those hyperlinks to work, make sure read mode is active. Again, go back to read mode by clicking the button on the far right in the nav bar. It's highlighted in the photo below.
It's a learning curve at first, so it will take a little bit to get used to. But just stick with it and you'll soon be navigating these two modes like a pro! I haven't been in the digital planning game for terribly long and It's already become second nature for me now – I don't even have to think about it!
More About Digital Planner Hyperlinks in GoodNotes
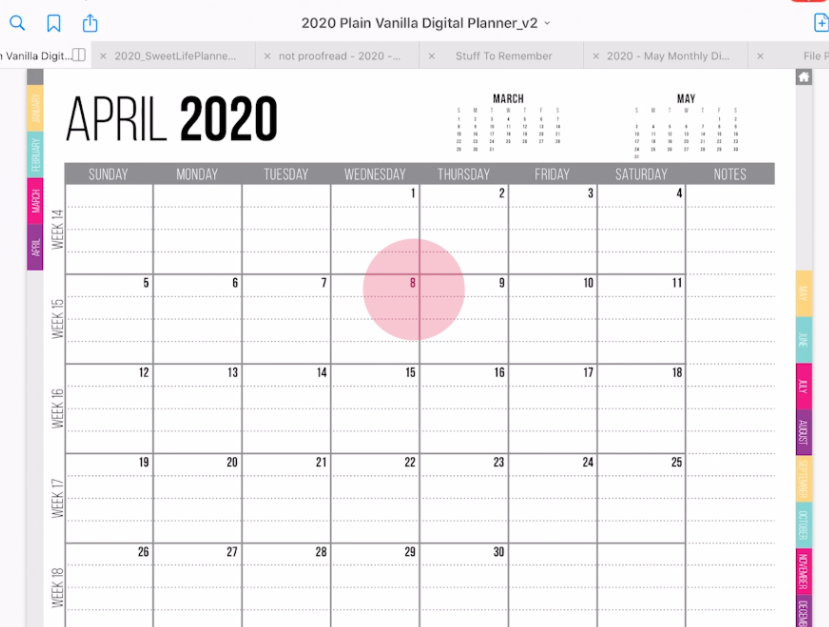
Remember how I said hyperlinks are what set digital planners apart? I wasn't exaggerating! In my original example, I talked about navigating from month to month. But that's just the beginning! Good digital planners can go from a month view to a weekly view to a day view all with a little tap! From your month view, tap on the day of the month to enter into a daily planner.

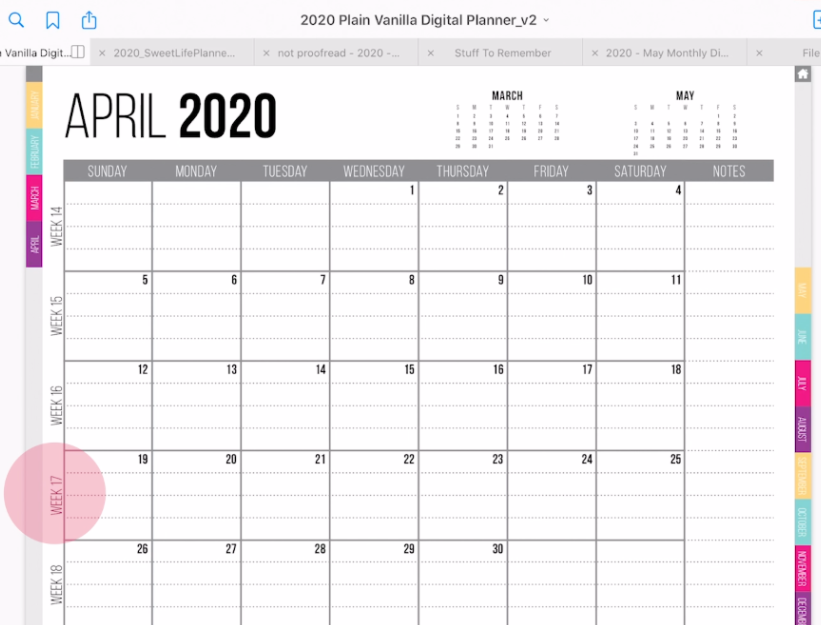
The same rules apply for a weekly calendar view. Simply tap on the week, and you'll be viewing the weekly plan in a matter of seconds.

The Digital Planner Makes the Difference
As I mentioned before, not all digital planners are the same. Just because one digital planner has those monthly, weekly, and daily hyperlinks, it doesn't mean that every digital planner is going to have those same hyperlinks. So, when you're shopping around for digital planners, keep an eye out for those hyperlinks! That is really going to be the thing that makes your digital planner worthwhile.
The Sweet Life Planner has around 20,000 hyperlinks. In my opinion, the more hyperlinks the better because that means the easier it is to navigate. This one has some tabs on the top, which act like little bookmarks to your "at a glance" views and then tabs along the side to easily navigate through the months and monthly goals.
How to Change Pen Thickness and Style in GoodNotes
Now that you have a basic understanding of how digital planners work and how to navigate them, I want to highlight a couple features that GoodNotes has to offer.
The first is the customization of the pen tool. If you tap on the pen once (reminder: that tool on the toolbar toward the left side), it will simply switch to the pen and you're ready to write. But if you tap twice, a couple customizable features show up in a drop down menu. Here, you can select the type of pen (fountain, ballpoint, or brush) as well as some of those other details like the Palm Rejection feature.

Palm Rejection is a feature where, when you're writing with the tablet pencil, the tablet will only recognize the pencil and it won't think your hand is trying to write, which will feel more like you're writing on paper. This is a feature I definitely recommend so if you want to make sure your tablet and pencil have this capability, read more about it on my post all about how to get started with digital planning.
Next, you can choose the color you are writing with. The button that is on the right side of the toolbar offers preset colors or customizable colors. If you really want to get fancy, you can even enter the hex number of a specific color.
You'll see there are three spaces in the toolbar where you can store a color. This is so you can set three different colors and easily switch between them. (Who else is all for color coding when they plan?! ?)
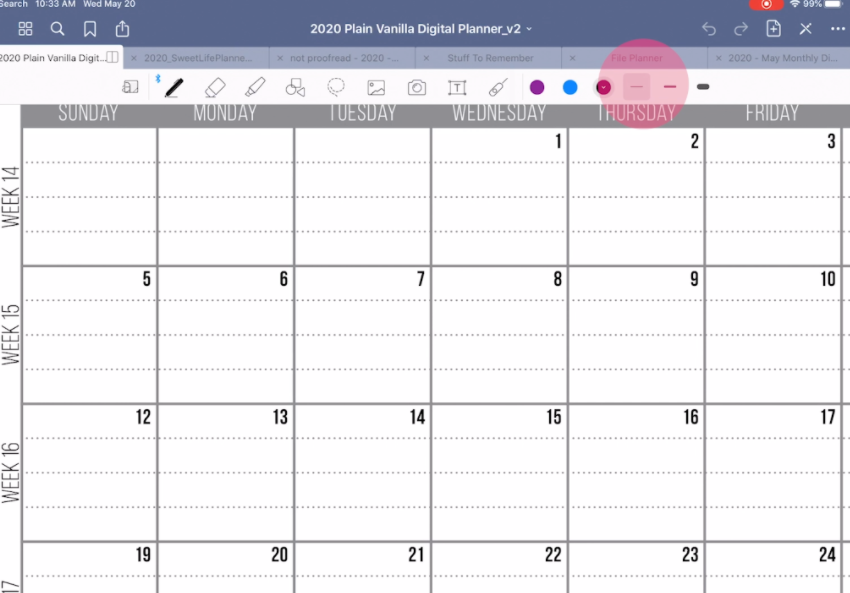
Right next to the color select is where you can set your pen thickness. Similar to the color select, there are three different thicknesses. I like to use the thicker options for headings or bolded events. However, the thinner option will be best when writing in the smaller boxes.
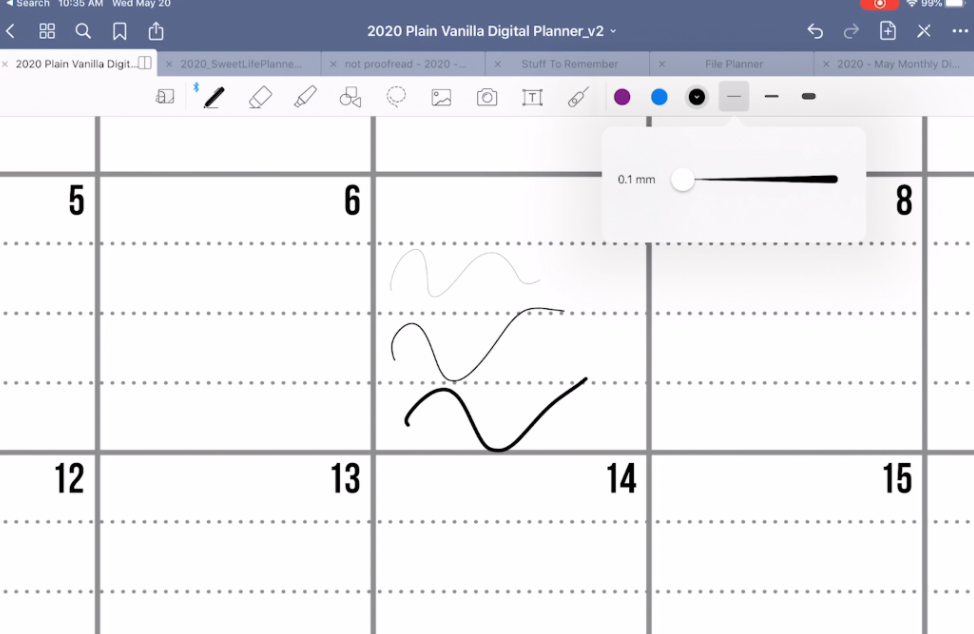
Each of these quick-change thicknesses can be customized. You can make your lines whatever thickness works best for you just by tapping twice and sliding the bar to your desired thickness.
How to Pinch and Zoom in GoodNotes (so you can write in small boxes on your digital planner)
Speaking of those small boxes, on paper planners it can be frustrating trying to fit everything you want into them. However, with GoodNotes on your digital planner, you can zoom in on any space by simply pinching and moving your fingers in and out, just like you would on a smartphone.
I got so used to zooming in to make my writing area larger that honestly I got frustrated that I couldn't zoom in on my paper planner! ?

When writing on your digital planner, I lay it down flat on the desk. I have a case for my iPad that allows me to stand it up, but when I'm writing in my digital planner, I typically have my iPad completely flat. It really is like I'm writing in a paper planner! Like any new thing, there's a slight learning curve, but I was surprised by how quickly I got used to writing on my iPad.
How to Highlight your Digital Planner in GoodNotes
The next tool on the toolbar, to the right of the eraser, is the highlighter. Once the highlighter is selected, you can see the color defaults and thickness have changed. This is all customizable in the same way as I mentioned above, and is specific to the highlighter tool. That means, when you switch back to the pen, all your previous defaults will still be the same. And, if you go back to the highlighter, all the defaults you set while using the highlighter will be right there waiting for you.
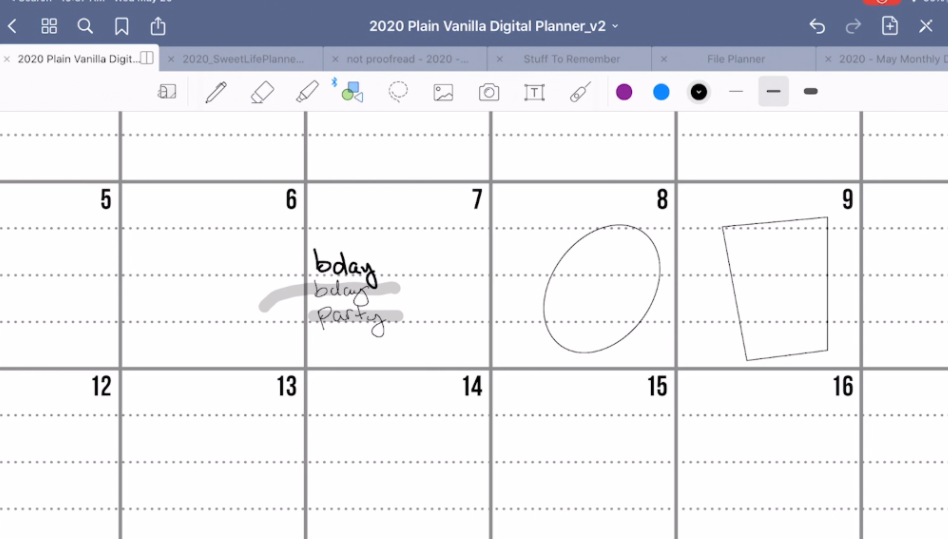
How to Add Shapes to Your Digital Planner in GoodNotes
Next, to the right of the highlighter, is the shape tool. This tool will straighten out the lines of shapes after you draw them. So, if I draw a shaky circle with my pencil, if I have the shape tool selected, it will connect the circle and make sure the line is nice and straight. Great for drawing boxes, or adding little flourishes to bring attention to items, or even create a key for another layer of planner organization.

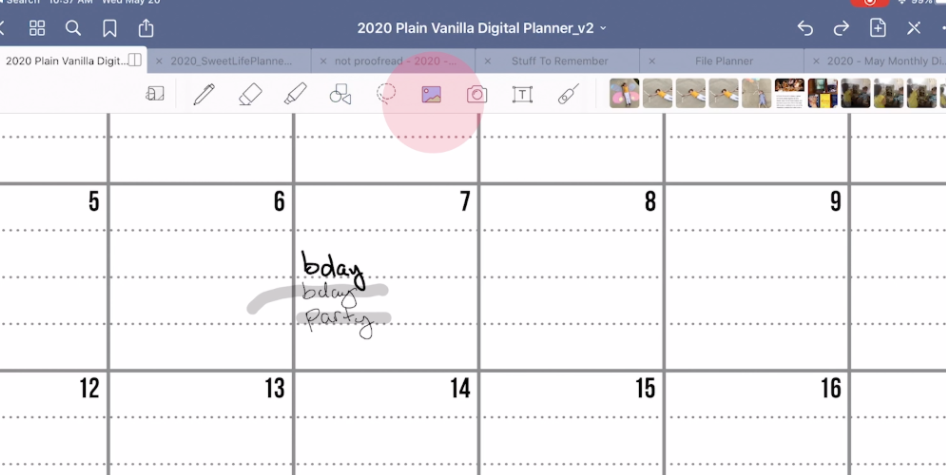
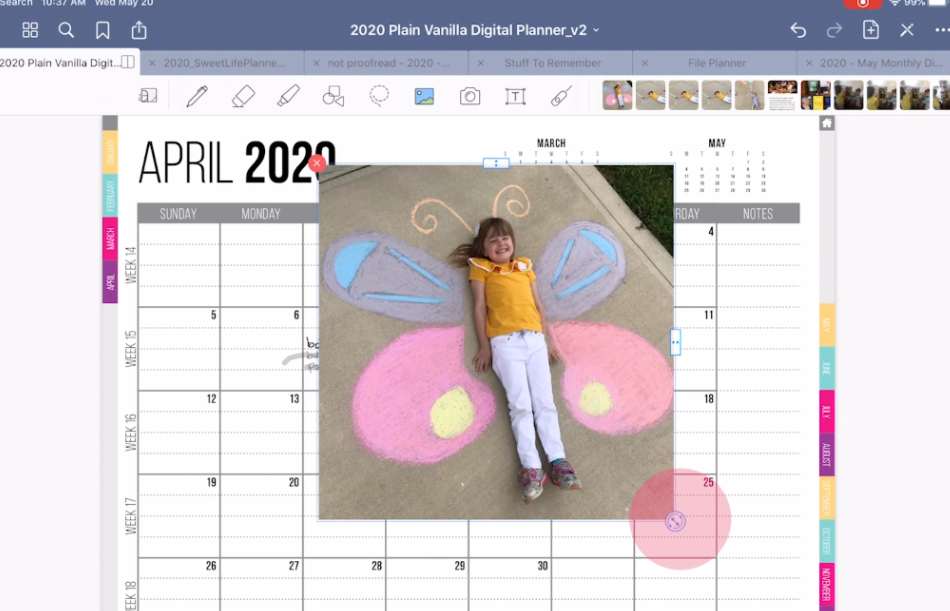
How to Add Images to Your Digital Planner in GoodNotes
Right after the shape tool on the toolbar is the icon to add an image. Simply click on the tool, and then you can select your images. Photos you've saved on your tablet will automatically appear in the toolbar for easy access (the most recent photos first), but you can also select a photo from your tablet's files. Drag and drop them to anywhere in your planner and click and drag the corner to adjust the size. This is great for creating memory books or for adding a photo to every day. I don't use a ton of photos in my own planning, but this can be a great tool to use if that's how you like to plan and remember those special moments that happen every day.
How to Type in your Digital Planner (instead of writing with the stylus)
Next up is the text box. If you don't love your own handwriting or planning with a pencil, then the text box allows you to type and place text anywhere in your planner. Once the text box has been added, change the text size, font type, and all those good details by tapping on the icon to the far right, as pictured here.
If you want to really use the text feature, I suggest purchasing a keyboard to use with your tablet. I have an Apple keyboard that attaches to my iPad. The keyboard has a feature so that when I fold the keyboard over to write on my iPad, any buttons pressed won't actually type, kind of similar to the palm rejection of the pencil. If you're looking for a keyboard for a tablet, this is a handy feature to keep in mind.
The Best Tool for Digital Planners in GoodNotes – The Lasso
I've saved the best tool for last! The lasso tool is really going to help when rearranging items on your planner. Sometimes plans change, to-do list items have to move, or maybe you just wrote the item down in the wrong place. The lasso tool lets you literally select an item or items and drag it to a new location on your planner. It really is that easy! The only thing to be aware of is that if you select any part of a letter or object, it will include it in the lasso. The good part about this is you can be a little sloppy when selecting what needs to move. The bad part is that even selecting the tiniest part of an object will include the whole thing in the lasso. It's a powerful tool that is really a game changer – it just takes a little getting used to!

With the lasso tool, you can convert your handwriting to text and then share that text. To do this, first select the text with the lasso tool. Once selected, tap and hold over the selected item to open up a small menu. On this menu, you can take a screenshot (which will take a photo of the selected text), resize (which will make the selected objects bigger or smaller), change the color, copy, paste, delete, or convert. In order to change handwriting into text, click convert.
Once convert has been selected, a box will pop up with the converted text:
From here, select the share icon in the upper right corner to then share the text. It can be exported and saved, sent to another person, or airdropped to another device.
A way that I use the convert tool in my own life is through making outlines. Oftentimes, when I'm planning something out for work, I like to physically write it out with my hands. A big part of my brainstorming process is actually writing things down. Now, I write these outlines in my digital planner, which is extremely helpful, but I still need to get those ideas into a text format so I can easily edit them later or share information with my team. That's when I convert my plans to text so they can be saved and shared without anyone else having to read my handwriting or start from scratch.
How to Use Stickers in your Digital Planner
Last, but not least is stickers! I have questions all the time about how to use stickers with a digital planner. I'm going to show you in my Sweet Life planner since there's already a tab specifically made for stickers. All you need to do is insert the images of your stickers onto the sticker tab. You can insert them from a file or pull them out from the camera roll on your iPad.

To use a sticker, use the lasso tool to select it. Click and hold on the image until the little menu pops up, and then select copy. Now, go to where you want the sticker to be. Tap and hold again to get that menu to pup up where you want the sticker to be. Select paste.
Once it's pasted, you can adjust the sticker size and location – just drag and drop! It's that easy.
I hope that all these tips and tricks give you a better understanding of exactly how GoodNotes and your digital planner work in tandem. I know GoodNotes has become my most used app and I love every minute of it! If you have other tricks, I'd love to hear all about how you use GoodNotes with your digital planner! Let me know all those tips in comments! And click here to check out our Sweet Life Digital Planner.
How To Create A Digital Planner With Hyperlinks
Source: https://getorganizedhq.com/how-to-use-goodnotes-with-your-digital-planner/
Posted by: josephouldives.blogspot.com
0 Response to "How To Create A Digital Planner With Hyperlinks"
Post a Comment