

How To Create A Scene In Sketchup
How to create scenes and do basic animation in Google SketchUp
Animating in Google SketchUp is very basic and fairly easy. This software consists of more 3d animation which is mostly architectural where you can look your drawing through different viewpoints. This is done by creating different scenes.
To learn more of how to create scenes and do basic animation in Google SketchUp follow the tutorial below.
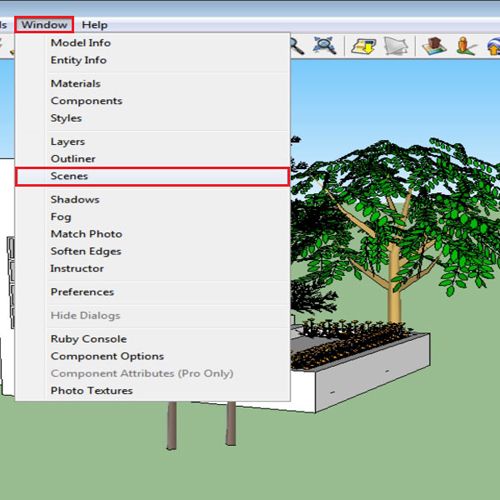
Step # 1 – Open the "scenes" panel
Open the "scenes" panel by selecting its option from the "window" menu on the top.
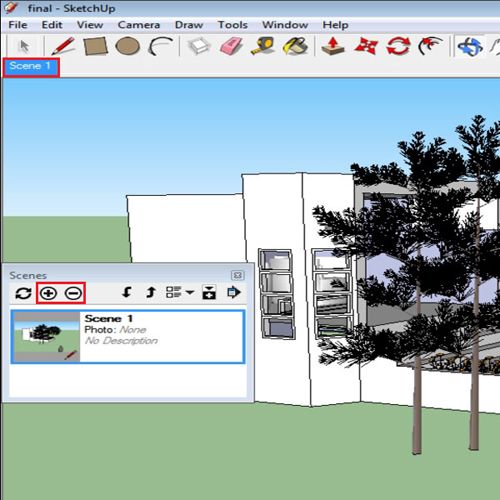
Step # 2 – Create scenes
The panel that opens up has a "+" and a "-" sign to add a new layer or delete an existing one.
Adjust the view point from the navigation tools of where you want your first scene to be. After doing so click on the "+" and a new scene is created.
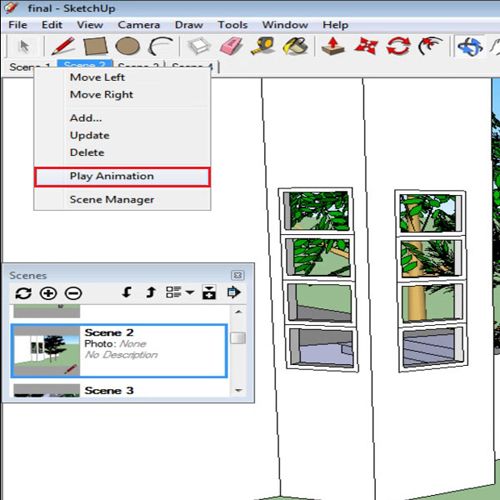
Similarly adjust three more view points to make three separate scenes. As each scene is created its tab appears on the top. You click on a tab and SketchUp plays it.
Step # 3 – Play animation
The whole animation can be viewed together. Right click on any scene and select the "play animation" option.
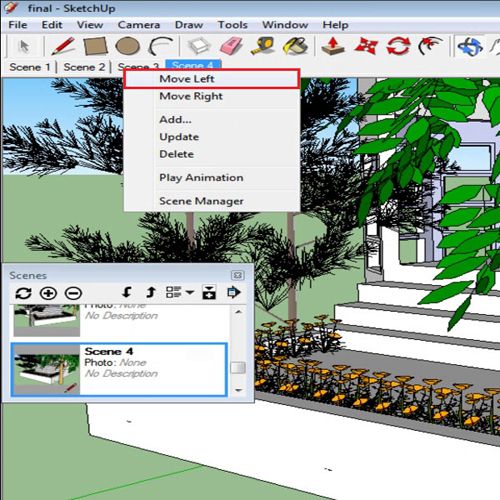
Step # 4 – Alter the order
The order of the scenes can also be altered by simply right clicking on them and choosing the "move left" or "move right" option according to your requirement.
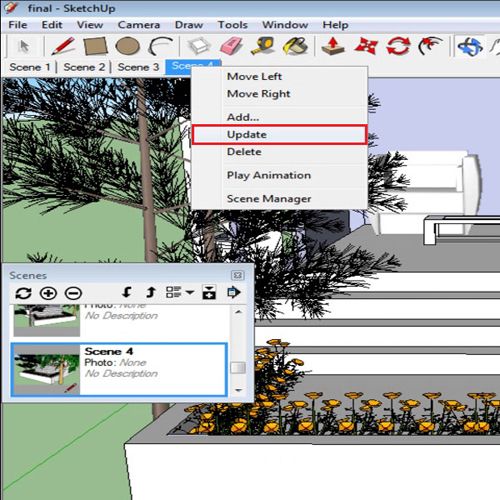
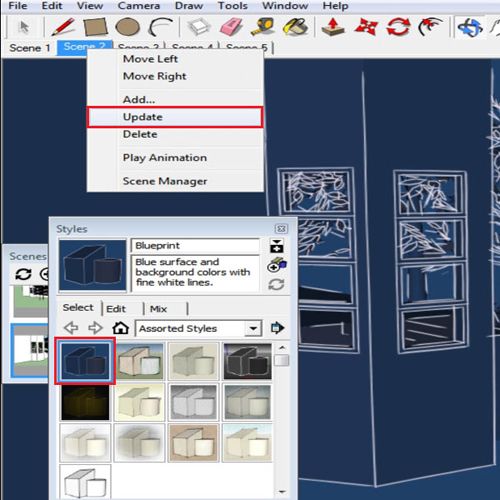
Step # 5 – Update a scene
Once a scene has been created its view point can still be changed. To do this, adjust your screen according to the new view, right click on the scene you want to alter and select the "update" option. Now if you play that scene, the old one would be replaced by the new one. Redo it by updating the scene again as to what it previously was.
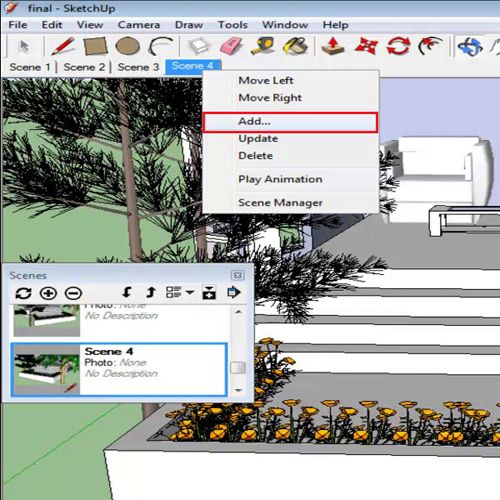
Step # 6 – Add additional scene
An additional scene can be added to your 3d animation by going to another view point, right clicking on the scene and pressing the "add" option.
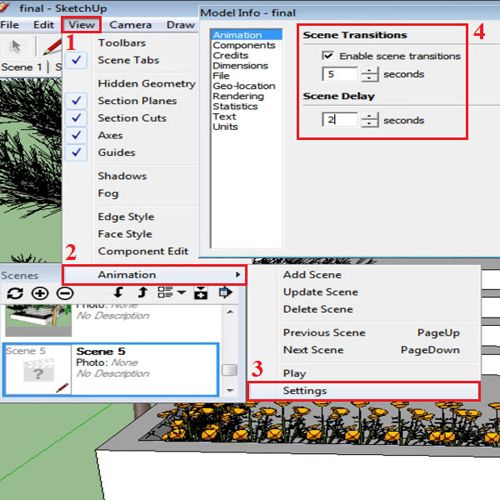
Step # 7 – Alter "scene transitions"
The time of in between scenes transition and the length for which it stays on one scene can also be customized. To do this go to the "view" menu, drop down to "animation" and open the "settings" menu. Increase it to see the change, the first option defines the time it will take for a scene to complete while the second one states the time it will pause in between the scenes. Bring the timing back to the default one.
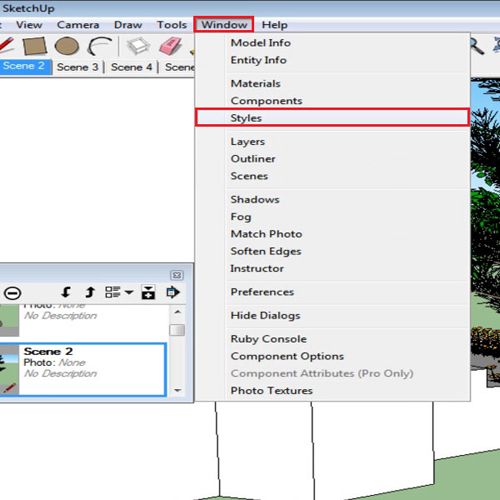
Step # 8 – Open the "styles" menu
The styles of a single scene can also be modified, for this go to the scene which you wish to alter. Now, open the "styles" panel by going to the "windows" menu and selecting its option.
Step # 9 – Change the "styles"
Choose any style that you wish to apply and then "update" the scene the same way as you did earlier and your animating is now complete.
When you play it now, along with the scene SketchUp will also change the styles as you have specified.
How To Create A Scene In Sketchup
Source: https://howtech.tv/how-to-create-scenes-and-do-basic-animation-in-google-sketchup/
Posted by: josephouldives.blogspot.com
0 Response to "How To Create A Scene In Sketchup"
Post a Comment